LC-PI-V831
Product name
LCPI Allwinner V831 AIoT Linux V831 vision AI Python development board
Product overview
V831 is a high-performance, low-power IP camera SoC for the video encoding industry. It can be widely used in security monitoring, SDV, driving recorders, police wearable cameras and other fields. V831 integrates a single-core ARM Cortex-A7 and supports a frequency of 800MHz. Comprehensive H/H. 265 video encoding supports multi-stream encoding, and the performance of H.265 video encoding can reach 1080p@30fps. V831 integrates the latest technology to generate image correction algorithms such as ISP image processor, NPU, EISE, wide-angle distortion correction fisheye and PTZ correction to achieve professional image effects. In order to reduce BOM cost, V831 embeds a 64MB DDR2 chip. V831 adopts advanced low-power technology and low-power architecture design, which greatly reduces BOM cost. Allwinner SDK has high stability and ease of use, supporting rapid mass production.
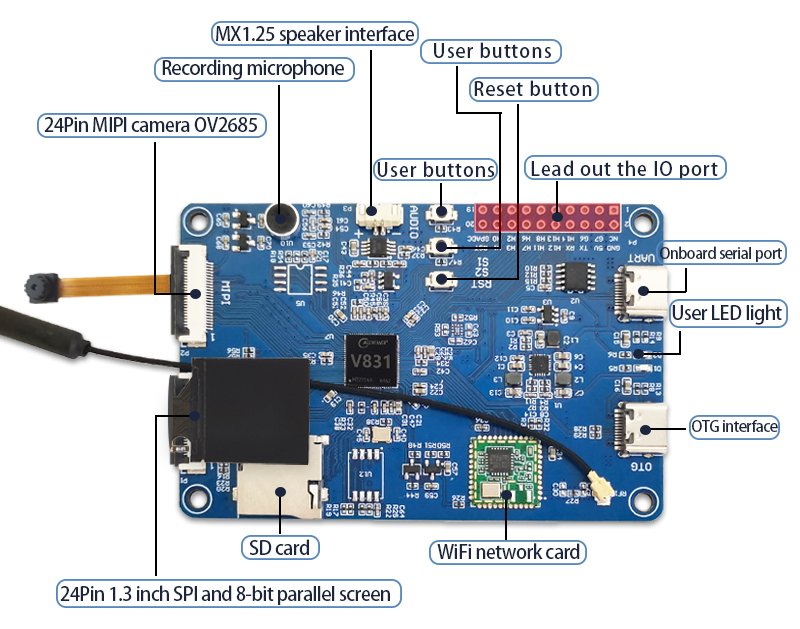
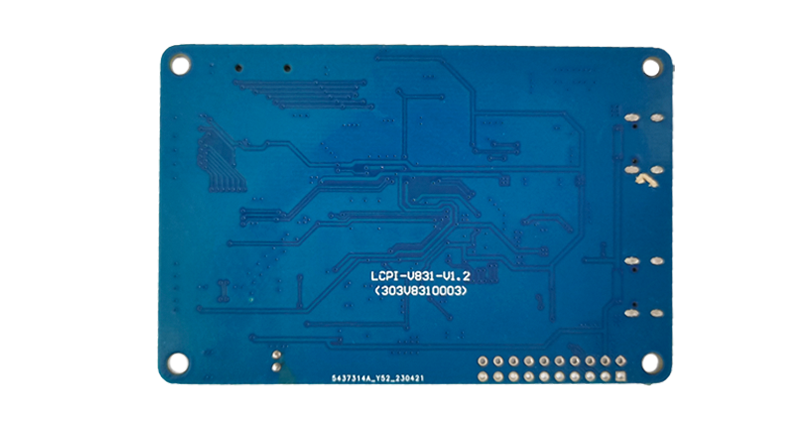
Interface introduction
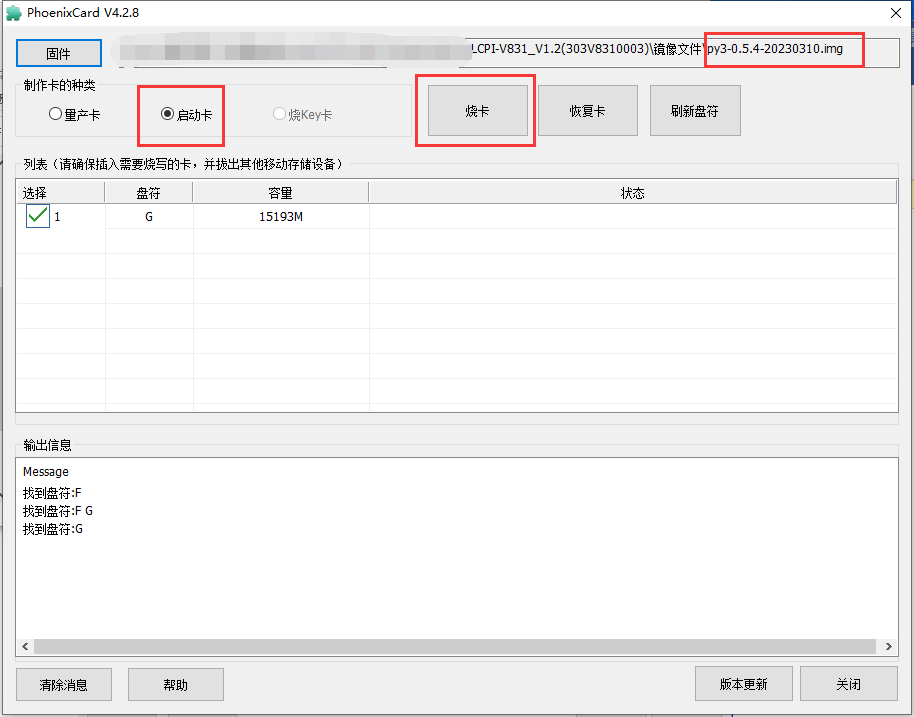
Image burning
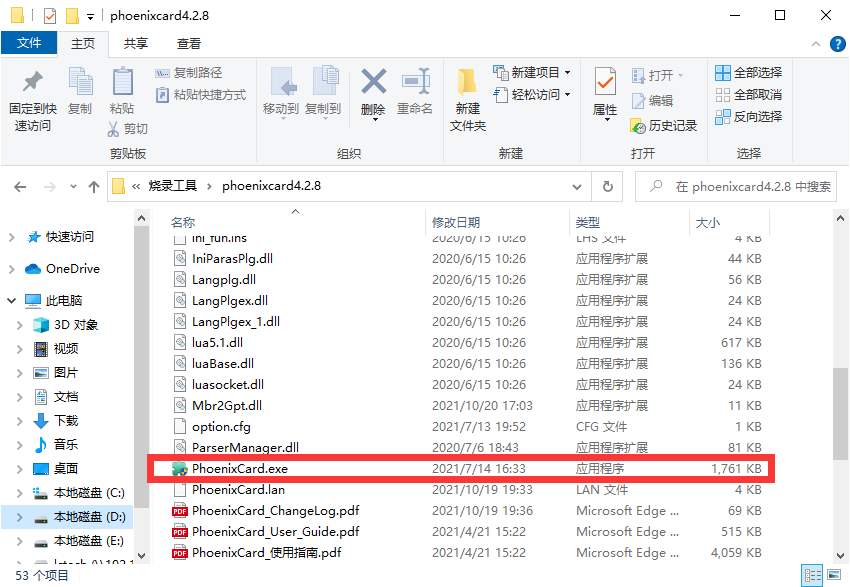
1.Open the burning software and insert the TF card
Function test
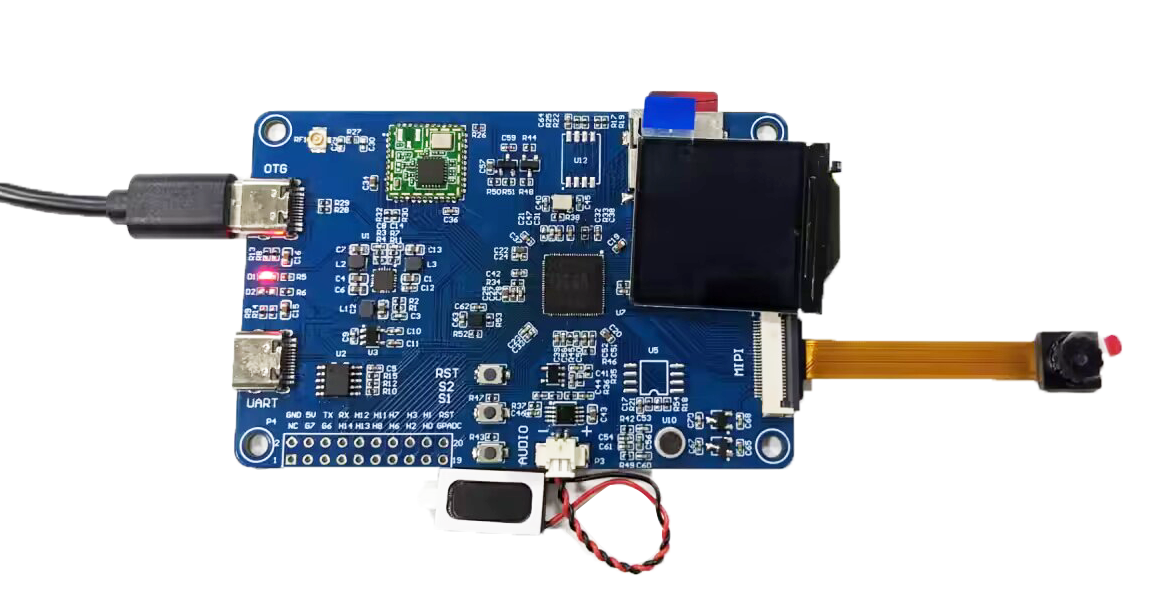
As shown in the picture: Insert the programmed TF card, MX1.25 speaker, camera and screen (pin 1 of the cable should be on the same side as silk screen 1 of the board), and finally insert the type-c cable to the OTG interface.
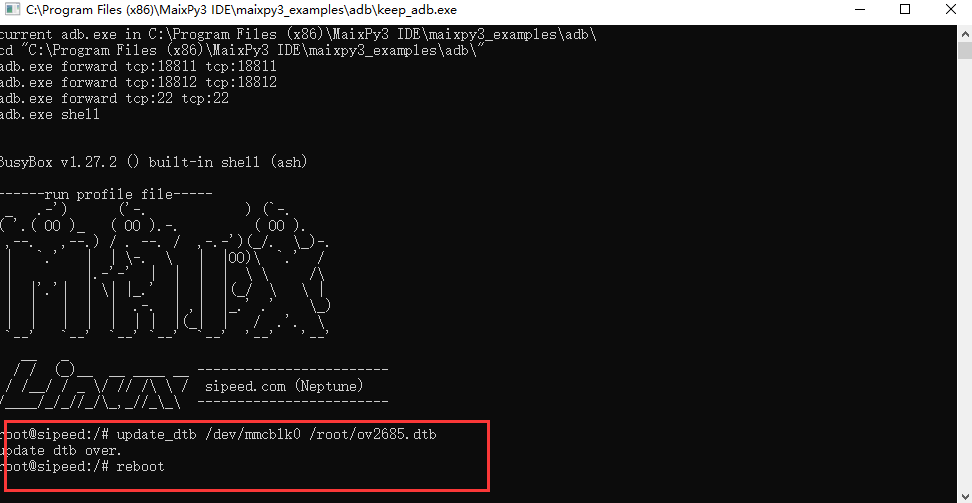
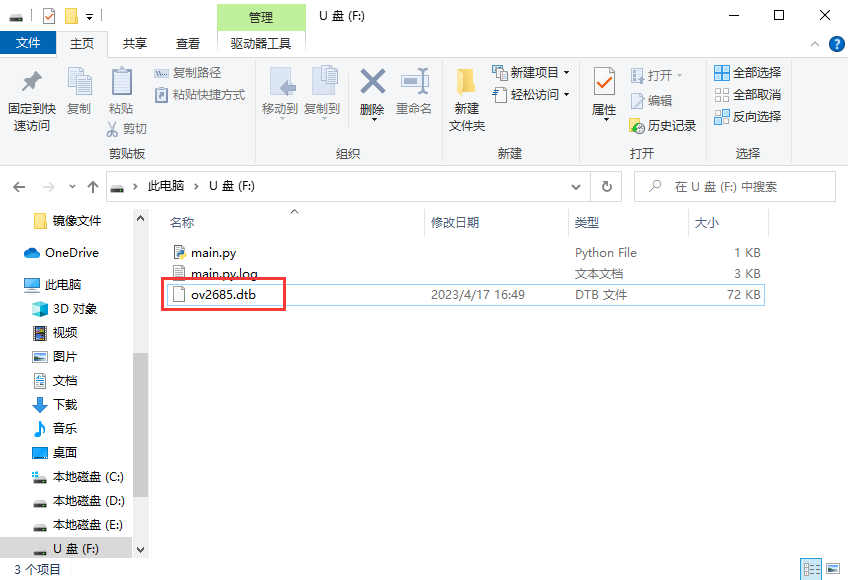
When the USB flash drive pops up from the computer, it means the startup is successful. Drag ov2685.dtb under the image folder into the USB flash drive
Open the development tools folder, install and open the MaixPy3 IDE software. Enter the following code in the command line interface:

After restarting, the camera can be used normally.
Paste the following code in the terminal to test.
1.WIFI wireless network
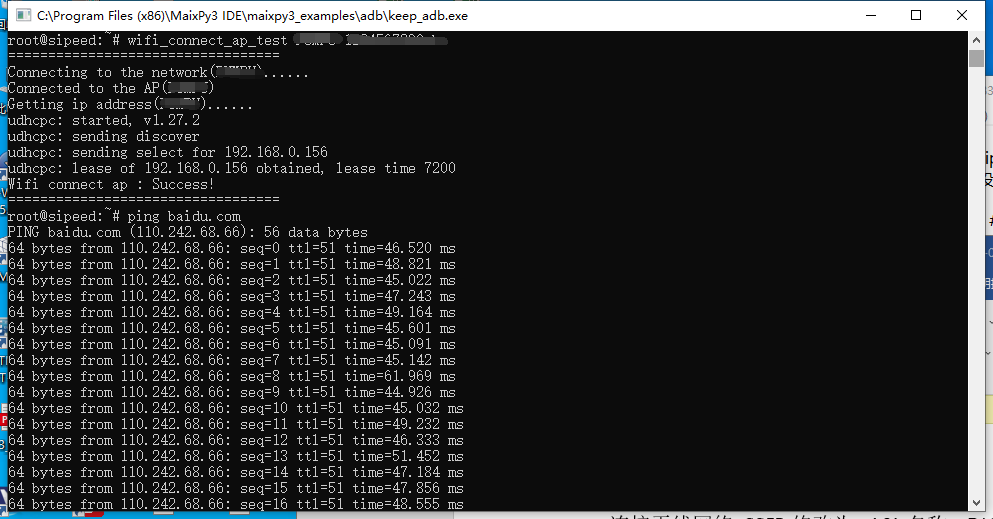
Connect to the wireless network, change the SSID to the wifi name, and change the PASSWORD to the wifi password.
![]()
Check if the connection is successful
![]()
2.Test screen
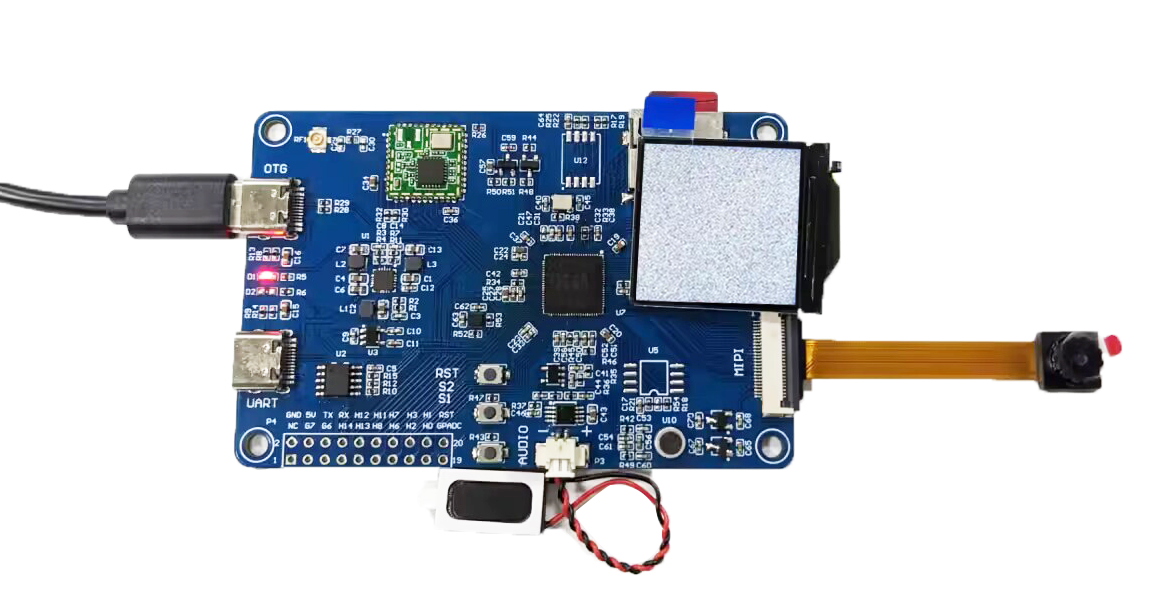
Enter the following code in the terminal, and a snowflake screen will appear on the screen, which means the screen display is normal.
![]()
3.Test recording
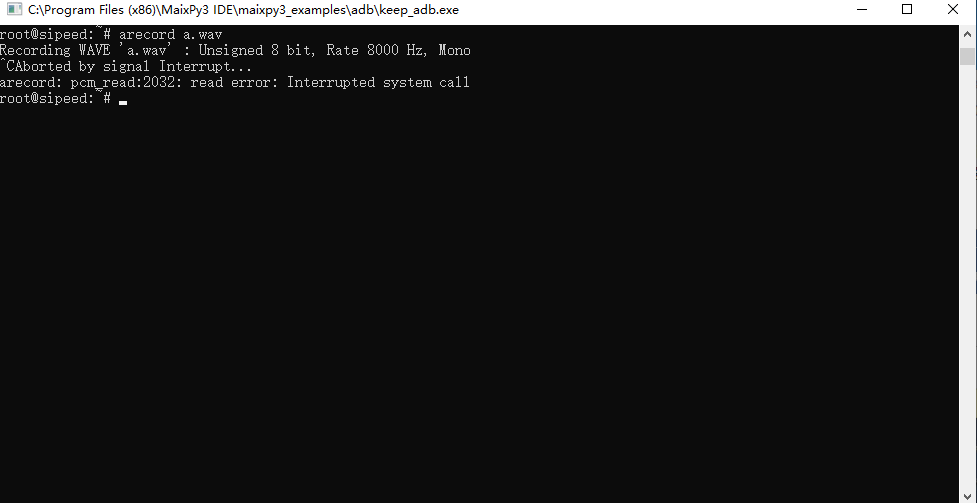
Enter the following code in the terminal to start recording, and press Ctrl+C to stop recording.
![]()
4.Test play
Enter the following code in the terminal to play the recording, and press Ctrl+C to stop.
![]()
5.Test camera
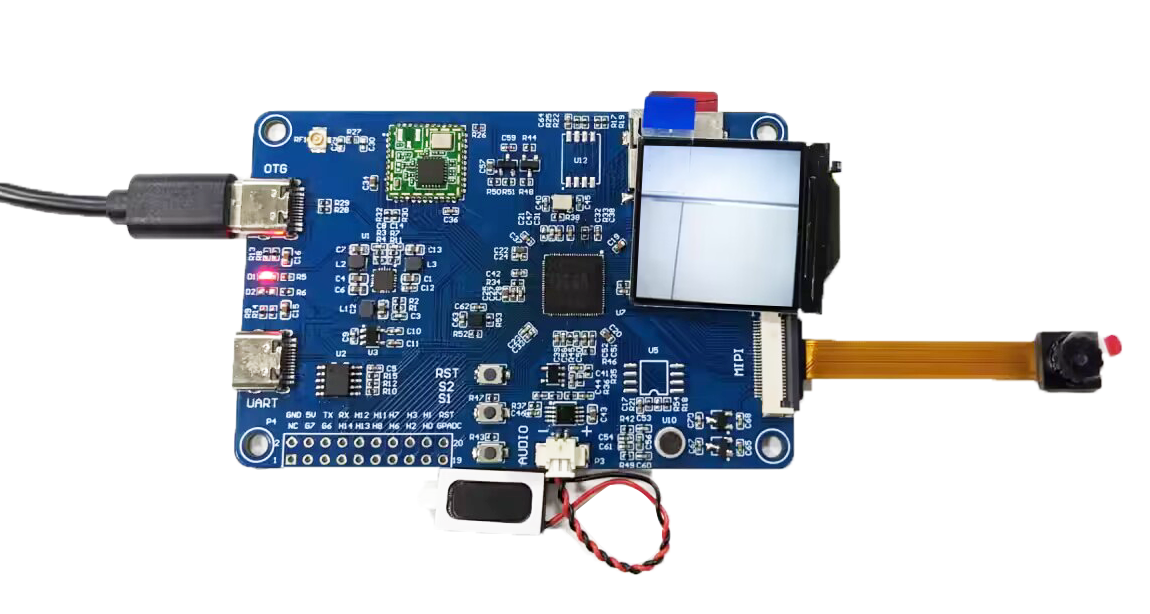
Enter the following code in the terminal to display the content captured by the camera on the screen. Press Ctrl+C to stop.

