LC-EM-1300
Contents
Product Name
VL53L0X laser ranging OLED display module ToF sensor ranging STM32 main control chip 0.96-inch OLED screen display
About
The LC VL53L0X laser ranging OLED display module uses STM32F103C6T6 as the main control chip and VL53L0X sensor to achieve laser ranging
Equipped with a 0.96-inch OLED screen to display the measured distance values; The product supports Type_C port power supply mode,
The module achieves external communication through the IIC communication interface, and has the characteristics of small size, high accuracy, long distance, and fast measurement speed
View
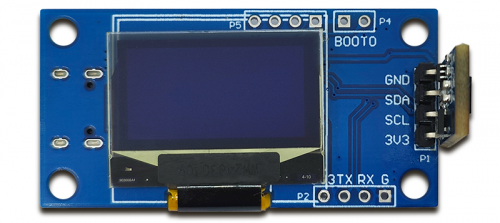
Front view
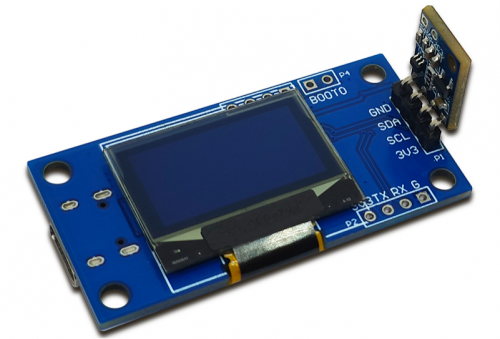
Side view
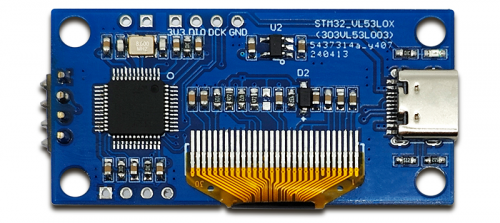
Reverse image
Introduction and Explanation
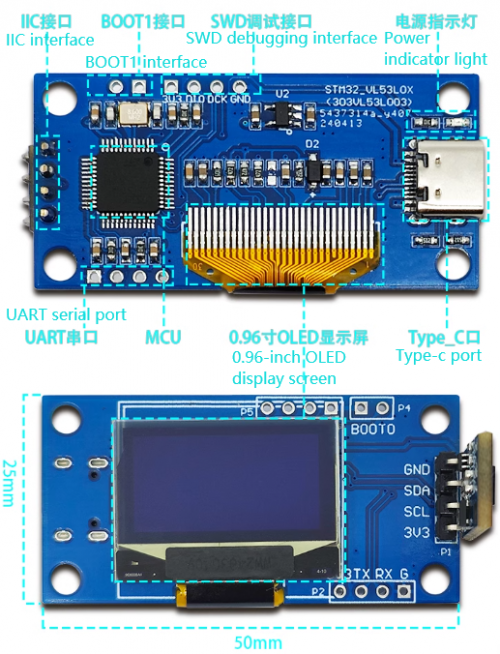
Structural dimensions
Board size: 50mm * 25mm/8g (positioning hole diameter: 3mm)
Interface Introduction
1. Type_C port: power supply+USB interface
2. Power indicator light
3. SWD debugging interface
4. BOOT1 interface: Insert the jump cap chip to enter the burning mode, unplug it to enter the running mode
5. IIC interface: Insert laser ranging sensor (test range: 4~200cm)
6. UART serial port
7.0.96-inch OLED display screen
8.MCU:STM32F103C6T6(LQFP-48)
Functional Features
- Use mature and stable STM32F103 series 32-bit microcontrollers
- Onboard VL53L0X laser ranging sensor, capable of measuring distances up to 2 meters (long-distance measurements require dark environments, as strong light can cause inaccurate measurements)
- Onboard 0.96-inch OLED screen, displaying measurement distance
- It has the characteristics of small size, high accuracy, long distance, and fast measurement speed
Instructions for use
1. Program burning - USRT: Prepare a USB to TTL module (such as CH340) and plug it into the computer's USB port. The connection method to the module is as follows:
| TTL serial port module | laser ranging display module |
| GND | GND |
| TX | RX |
| RX | TX |
| 3.3V | 3.3V |
Then plug in the jumper cap between the BOOT0 pin and 3.3V to burn the firmware
2. Program burning - SWD: Prepare a Link debugger (ST Link, J-Link, etc.) and plug it into the USB port of the computer. The Link and module connection method is as follows:
| Link debugger | Laser ranging display module |
| GND | GND |
| SWCLK | DCK |
| SWDIO | DIO |
| 3.3V | 3.3V |
Then select the firmware for burning
3. Program debugging:
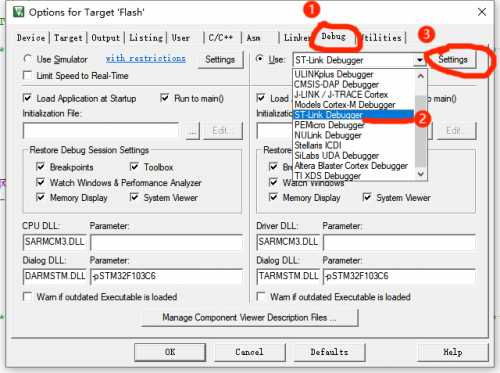
After connecting the Link burner in the above way, click the "Debug" button of the compiled software, select "ST Link", and then click Settings
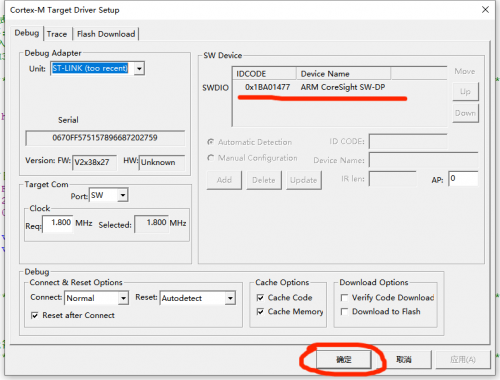
If the SW Device displays a device, it means that the debugger has successfully recognized it. Set the parameters according to the following figure and click OK
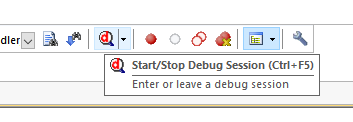
Then press Ctrl+F5 or click the debug button to start debugging:
4. Module function testing
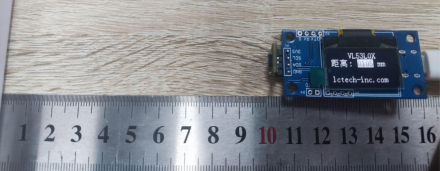
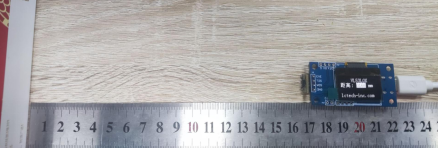
Prepare a measuring scale and an obstacle board, place the module at a distance of 10 centimeters and 16.5 centimeters from the obstacle board, then power on the module, and the OLED screen will display the distance size at this time
The above tests show that everything is normal on the module
Download User Manual
For more information on the use of this product, please refer toBaidu Netdisk Extraction code: 7eyb
